How to sync project expenses with QuickBooks Online or Xero
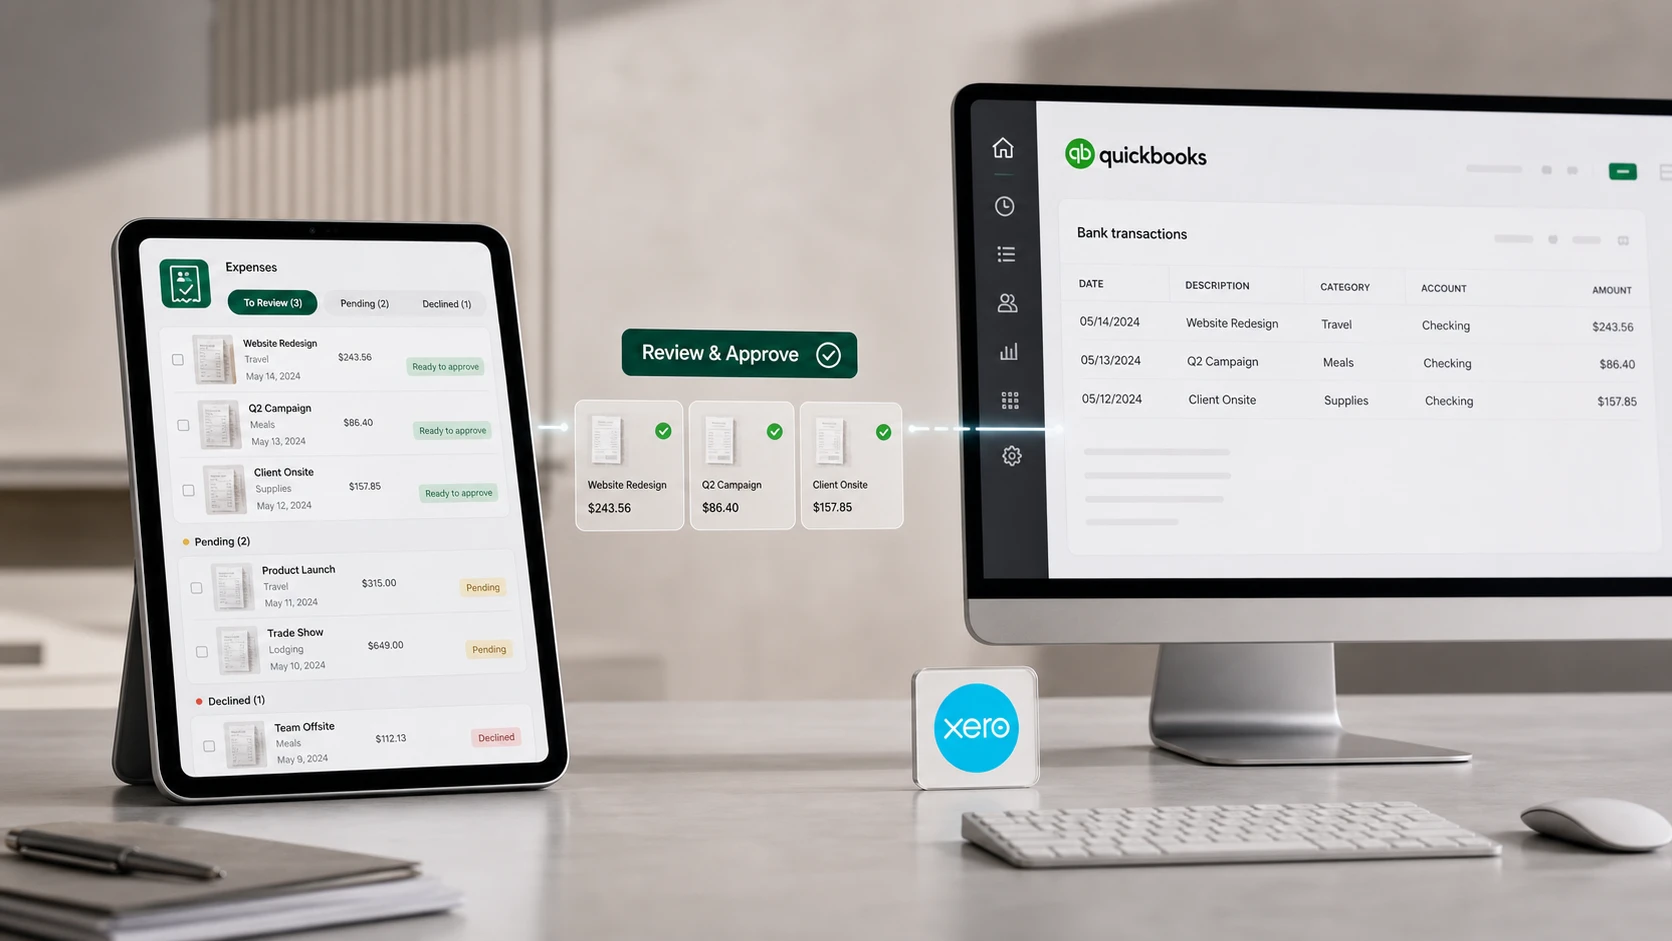
The last mile of expense tracking is the books. Whether your accountant lives in QuickBooks Online or in Xero, the question is the same: how do expenses get from the job site into the ledger without a CSV shuffle? Here is how the TaskSpend sync works for both, and, just as important, what it will never do on its own.
What the sync does
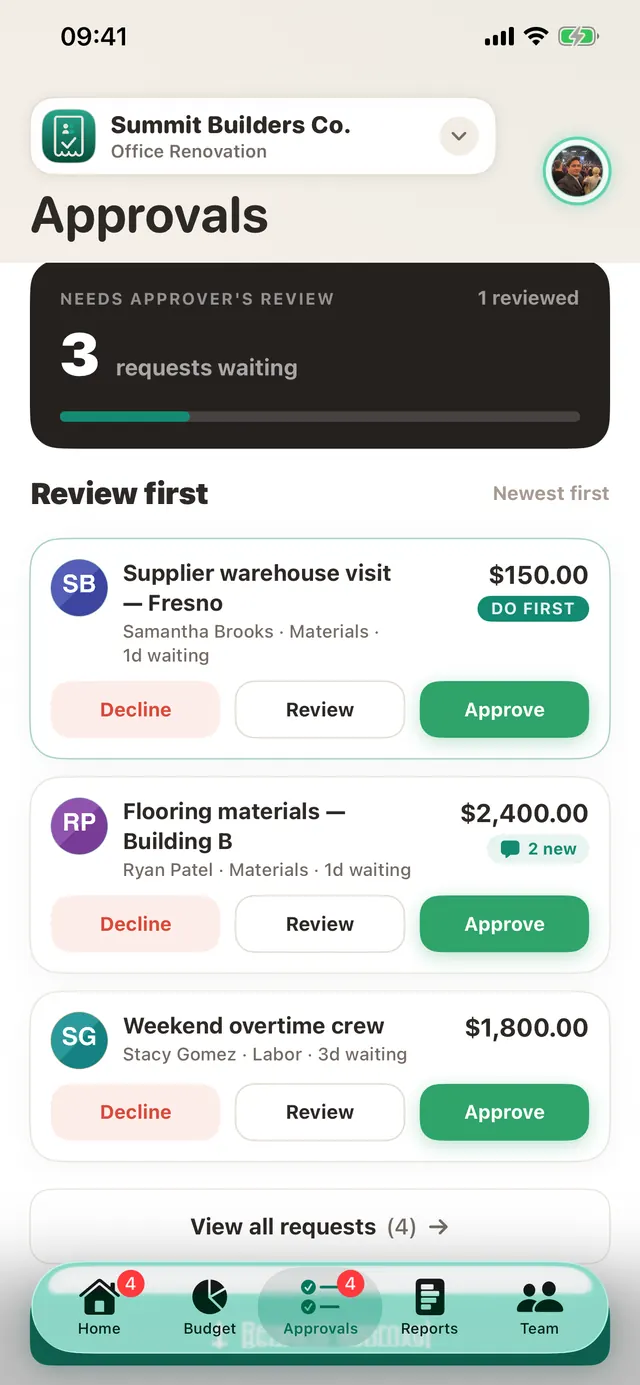
TaskSpend pushes approved expenses from a project into QuickBooks Online or Xero. Only approved ones: drafts, pending items and declined requests never leave TaskSpend. The approval queue is the gate. And nothing moves automatically: you review what is approved and push it across yourself, so your books never receive anything you have not looked at.
Connections are per project, so you can sync the jobs that belong in the books and leave the rest alone. The two integrations are independent: a workspace can use either, or different systems on different projects.
Setting it up
- Sync is part of Premium, and connecting is reserved for the workspace owner.
- In the project, choose Connect QuickBooks or Connect Xero and sign in with your Intuit or Xero account. TaskSpend never sees your password; the sign-in happens with them and TaskSpend receives a permission you can revoke at any time.
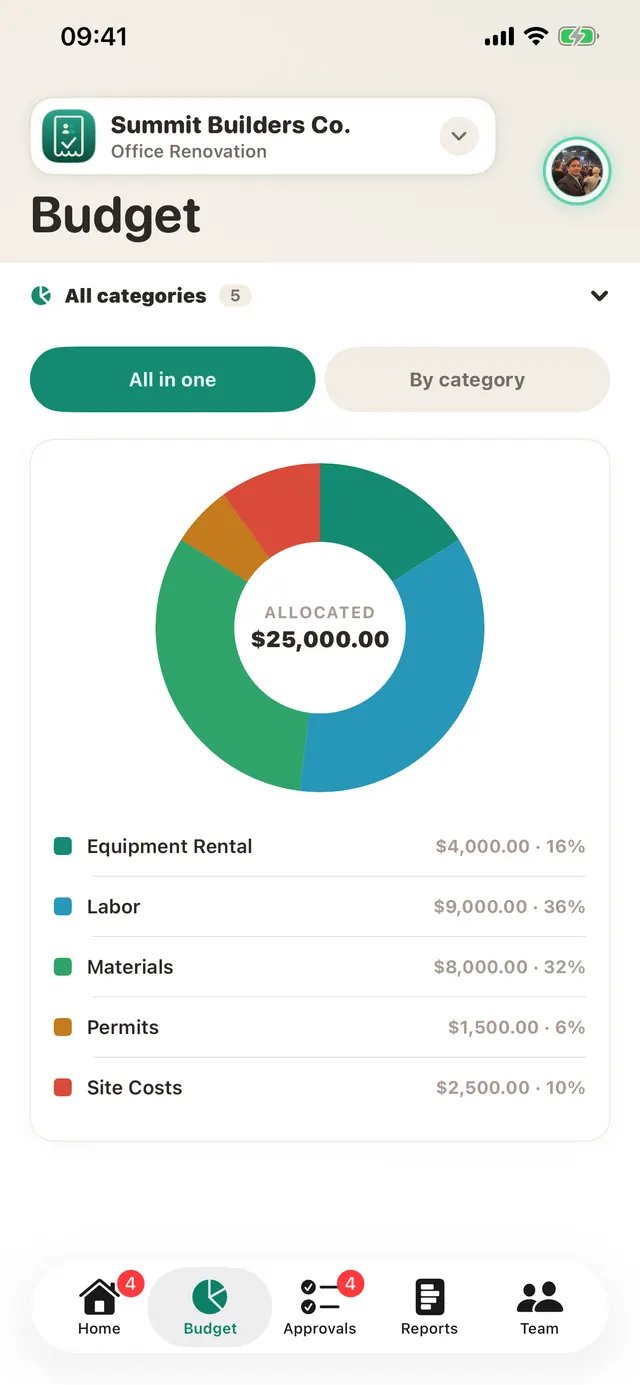
- Map your TaskSpend categories to your accounting categories once. After that, every pushed expense lands in the right place.
Starting from the web? Owners can begin the connection at app.taskspend.com and finish it in the app.
Day to day
The rhythm stays the same as before: the team captures receipts, requests get approved, the budget stays live. When you are ready, weekly for an active job or once at handover for a short one, push the approved expenses across in a tap. Each pushed expense shows its sync status, so you can see at a glance what has made it across, and retry anything that has not. Nothing is lost in between.
Not on either? Every plan exports any project or date range as a PDF with receipts attached, or as CSV your accountant can import anywhere.
Scope note: the QuickBooks integration is with QuickBooks Online. The desktop editions are a different product and are not supported.
Connect your books
Start free, and add QuickBooks or Xero sync with Premium when you are ready.
Get TaskSpend